
An error occurred while retrieving the Tweet. It might have been deleted.
Setup Wifi Range Extender - Wifi routers have become a necessary commodity at homes and offices alike. These wifi routers help the user to get access to high-speed internet connectivity and also to share the same with multiple other devices. These wifi routers come in various shapes and sizes with different configuration & speed as well. The user decides whichever suits their respective needs from a router.
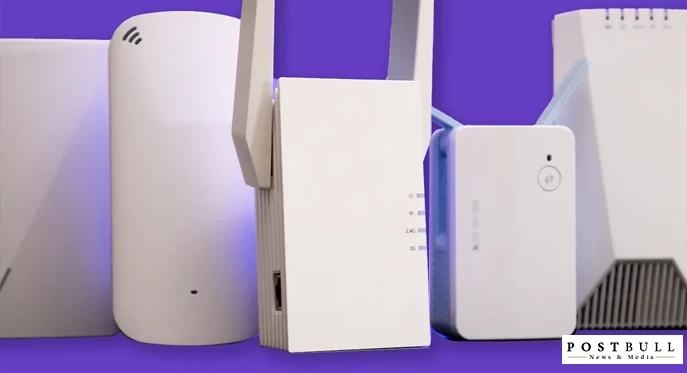
The most significant demand is a good coverage area so that the user receives maximum coverage even in the farthest corners of the home. Apart from a powerful router machine, users can also use a range extender to resolve the issue. The wifi range extenders work with your present router and bounce the signal of the main router to devices which were not receiving a good signal. Let us find more about it in the following section:
What is a wifi range extender
We all have been through this while watching your favorite TV show or podcast online, once the signal is fine at the very next instant you lost connectivity. Range extenders are used to redirect or bounce the main signal from your parent router to provide a wide range area in your home. You need to configure your extender on the lines of your parent router and all the settings detail will be similar.
This will allow the extender to catch the signals from your main router and spread it across the home and locality where your current range of wifi could not reach. You can switch between the two networks as per your distance from the router machine. Let us see how to configure your extender to your router machine to get the maximum output out of it.
How to configure Wifi range Extender
Setting up your wifi range extender can be done both automatically if your main router has the direct button for WPS. In case you are using an old router or your router does not have the WPS functionality push button, then you can also configure it manually as per your needs. Let us see both ways:
Automatic
The modern router machines come with WPS push technology integrated. Look at the back of your router machine and check if there are any WPS button at the back. If Yes, then push the button on your router. Connect your extender to a power source and then push the WPS button on it too. Both the devices will get connected easily and you can set your e-tender in any corner of your home to get the best signal output from your router machine.
Manual Configuration
If you are using an old-model or for some reason, there is no WPS button at the back of your router, then no need to worry as we can configure the tender with the router manually as well. Let us see how that can be done easily in a step-wise manner.
- Before configuration process starts, make sure you have the following information at hand before you proceed.
- Username/ SSID information
- Wireless password
- Channel name
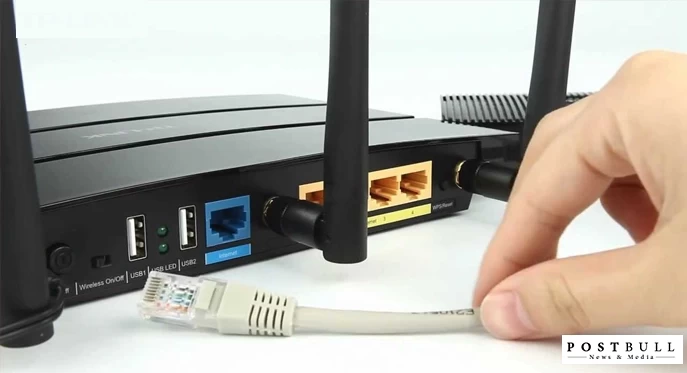
- Reset your range extender, by pressing the ‘Reset’ button at the back of your range extender for 5 seconds.
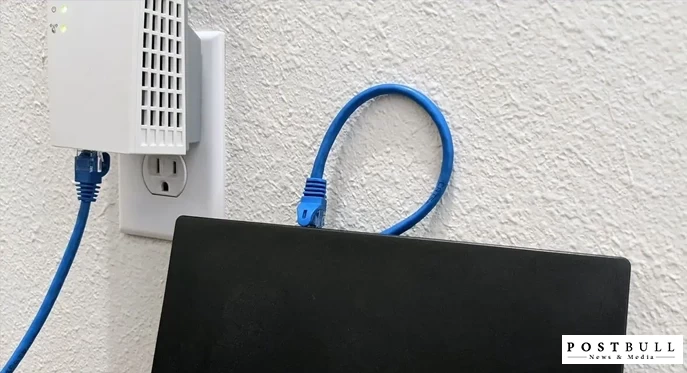
- Now, connect your wifi extender to your computer using an Ethernet cable. One end of the cable goes inside the ethernet port of your computer while the other end into your range extender.
- Open your web browser and type in the default IP address or your personal IP into the address bar of your computer web browser. This will redirect you to the login page of your router.
- You will have to put in your router’s administrative login credentials into their respective fields to get access to the main settings page. Your login information is printed at the bottom of your router. If those do not work try the default ones.
- On the main settings page, click on ‘Wireless’ > ‘Basic Wireless Settings’. Here you will see two options, ‘Manual’ & ‘Wifi Protected setup’. Click on Manual and then enter the SSID or network name in the box below.
- On the wireless settings page of your router, enter the same credentials that your main router device has. The wifi password and name will also be the same. Make sure all the details you put in is on the same line with your main router. After you have configured the security settings save the settings.
- Once all the settings have been configured, save the settings and unwire it from the computer. Now you can put this wifi extender at any place in your house which is in reach of your main router. Now all the signals coming out of your main router will be bounced off the wifi extender to give you the best coverage all around the house.
Selecting the right set of wifi extenders is also as necessary as the selecting your main router. The wifi extender will not only help you bounce the signals but also help to boost the signal strength of your main router machine. So always select your devices carefully as per your needs. This will save you a lot of money and time which you might waste on technicians or services you might have to take in.


.jpg.jpg)


0 Comment Leave Reply
Connect with: