If you recently purchased HP printer and no installation disc came along with your printer then there is no need to worried about this as you can easily install HP printer on your computer in no time without installation disc too.
Read this blog carefully to know the procedure of installing HP printer without the disc.
If you don’t have installation CD then follow these steps to install HP printer on your computer
- First of all, locate the model number of your HP printer. Generally, the model number is located on the front left-hand side of HP printer, just note down this number. Before proceeding to next step, verify that you have a working internet connection.
- Launch your favorite internet browser and navigate to HP website. Once HP website open, move to left-hand side navigation menu and then choose the “Printers and all in ones” hyperlink.
- Scroll down mouse cursor on the Printers and All in one page and then choose the “Softwares and Drivers” link that is located in the right-hand pane. You can find this link under the subheading titled “Award-winning support”.
- In next step, you have to enter your printer model number in the test area. After entering the appropriate model number, hit Enter button. Now you are redirected to next page where you have to enter your operating system.
- Now identify and download the drivers that you need from the displaying list. You are now presented with Update, Driver and Utility software. Now you are installing the driver so you will need only “Driver” software. To download and save the software on your operating system, you have to click on appropriate links.
- Next, you have to follow on-screen prompts in the installation wizard to properly install and configure the driver for your HP printer. Once the installation process gets complete, just print a document as a trial to confirm that your Hp printer is printing properly. When everything gets complete, hit the Finish button and reboot your computer.
After Downloading Driver, Go Through These Points
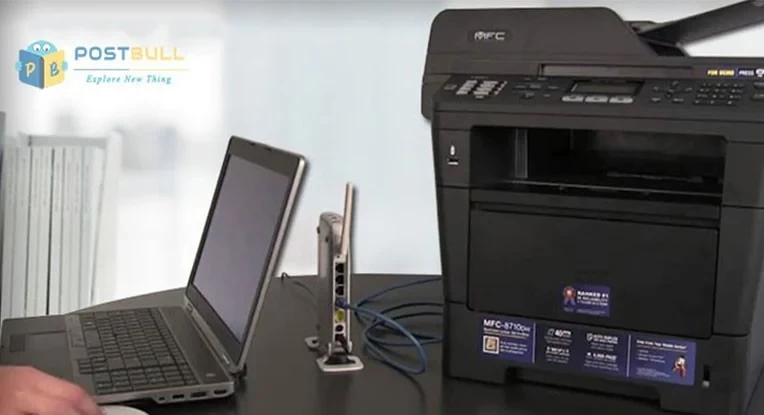
- Take a USB cable for connecting your HP printer to PC. You have to insert one end of USB cable into printer ‘s port and another end into computer’s USB port.
- After connecting both devices, turn on the device. Check your system’s screen and then choose “HP smart install” in the Autoplay dialog box. To start the installation process, move to User Account Control Window and click on Yes button.
- Now read the HP license agreement and then click on the checkbox that is next to “I accept the software end user license agreement” option. Next, tap on “Install” button and proceed to next step.
- In the next step, you have to choose your preferred printer’s connection, for example, USB or Wireless. If you are choosing the Wireless option then confirm that your router is turned on. To configure the device, again you have to follow on-screen prompts.
- For installing drivers and software, just tap on Next button. Now your HP printer is ready to use.
Additional Tip
During installation process or printing test page, if you face any difficulty then disable your firewall or antivirus software. Once the problem gets resolved, you can continue installation or printing process.
When completed, you have to re-enable firewall or antivirus program. The above information will help you to install HP printer without installation disc so that you can enjoy the optimal performance of your printer without making any compromise.


.jpg.jpg)


0 Comment Leave Reply
Connect with: